Step-by-Step Guide to Using Apple Pay: Setup, Payments, and Tips
Apple Pay has changed the way millions of people handle everyday transactions — from grabbing coffee to paying for groceries or booking a ride. If you've been hesitant to try it, or you just got a new iPhone and aren't sure where to start, this guide walks you through everything: how it works, how to set it up, and how to use it confidently in the real world.
What Is Apple Pay and How Does It Work?
Apple Pay is a mobile payment service from Apple that lets you pay using your iPhone, Apple Watch, iPad, or Mac instead of a physical card. At its core, it uses Near Field Communication (NFC) — a short-range wireless technology — to transmit payment data to a contactless terminal in under a second.
What makes it more than just a digital card holder is tokenization. When you add a debit card or credit card to Apple Pay, your actual card number is never stored on your device or shared with merchants. Instead, Apple generates a unique Device Account Number that represents your card. The merchant receives only that token — never your real financial details.
This design means Apple Pay isn't just convenient. It's structurally more private than swiping a physical card, where your full card number passes through multiple systems at the point of sale.
Compatible Devices and Supported Cards
Apple Pay works on most Apple devices released in the last several years. Here's a quick breakdown by device type:
- iPhone: iPhone 6 or later (all models with Face ID or Touch ID)
- Apple Watch: All Apple Watch models (Series 1 and later)
- iPad: iPad Pro, iPad Air, iPad mini, and iPad (5th generation or later)
- Mac: Macs with Touch ID, or any Mac paired with an iPhone or Apple Watch for authentication
On the card side, Apple Pay accepts credit cards, debit cards, and prepaid cards from most major banks and card networks including Visa, Mastercard, American Express, and Discover. The specific banks that support Apple Pay vary by country, but the list is extensive — you can check your bank's support directly in the Wallet app during setup.
One thing worth knowing: corporate cards and some prepaid cards occasionally have restrictions set by the issuing bank, not by Apple. If a card doesn't verify, that's usually why.
How to Set Up Apple Pay (Step-by-Step)
Setting up Apple Pay takes about two minutes. Open the Wallet app on your iPhone and follow these steps:
- Open Wallet — Tap the Wallet app (it looks like a folded card holder). If you've never added a card, you'll see a prompt to get started.
- Tap the + button — This is in the top-right corner. Select "Debit or Credit Card."
- Scan or enter your card details — Point your camera at your physical card to auto-fill the number, or type it manually. Enter the expiration date and CVV when prompted.
- Agree to the terms — Your bank's terms will appear. Read and accept them to proceed.
- Verify your card — Your bank needs to confirm it's really you. Most banks offer verification via text message, email, or a phone call. Some use their own banking app. Complete whichever method your bank provides.
- Set a default card — If you add multiple cards, go to Settings → Wallet & Apple Pay and choose your preferred default. This is the card Apple Pay will use automatically when you pay.
Once verified, the card appears in your Wallet and is ready to use immediately.
How to Pay In-Store with Apple Pay
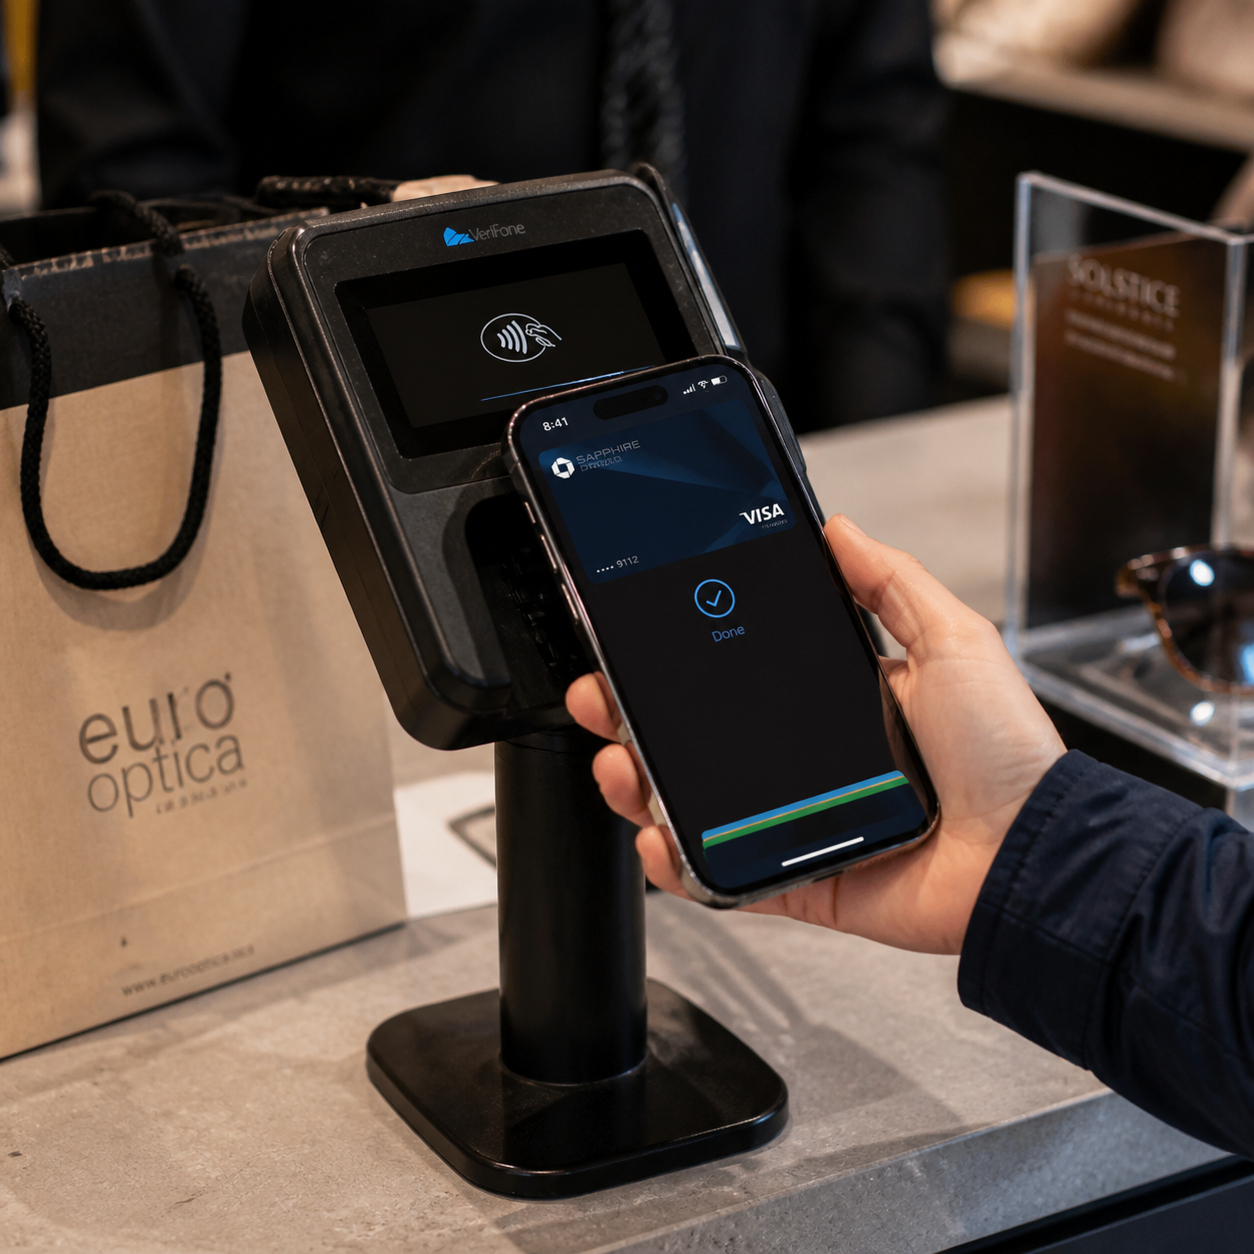
Paying in-store with Apple Pay is fast — the whole process takes about three seconds once you're at the terminal. Look for the contactless payment symbol (four curved lines) on the payment reader; that's your signal that NFC is supported.
Here's how to complete a payment on iPhone:
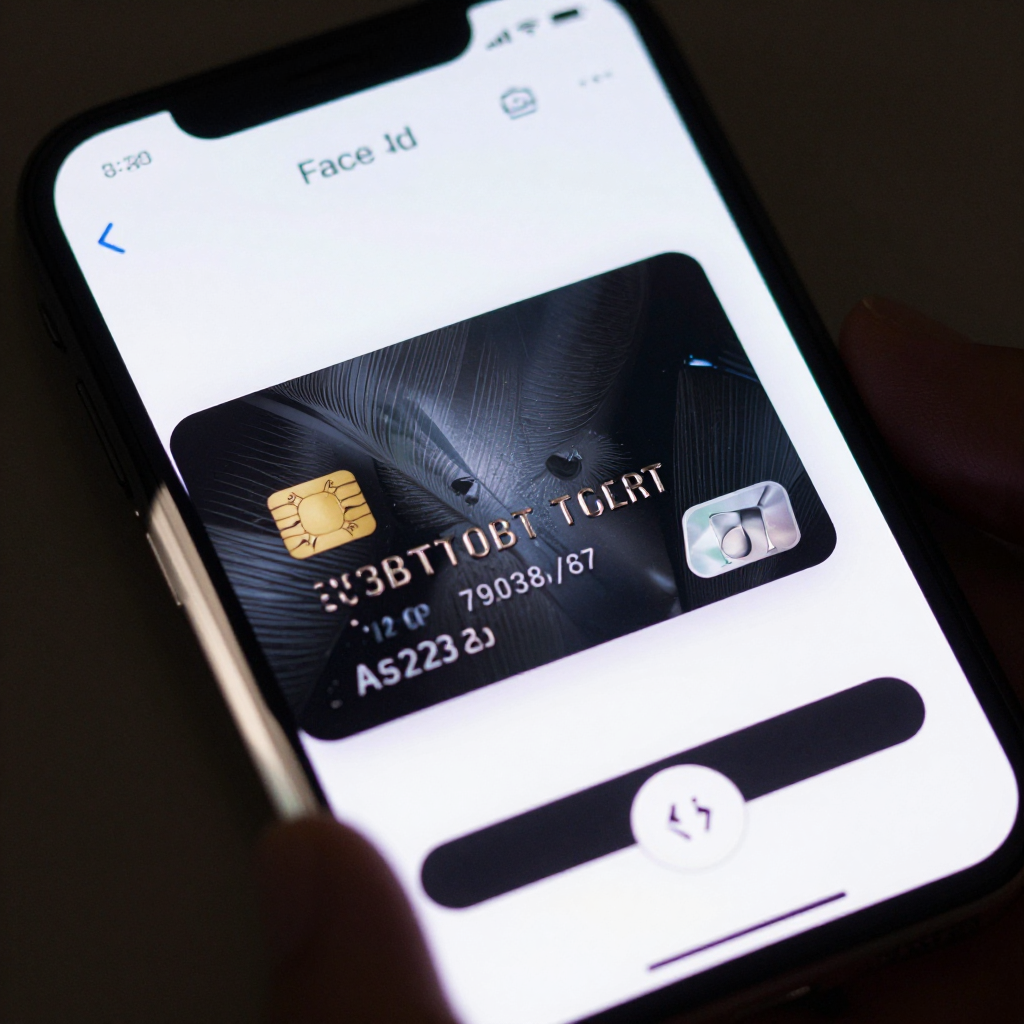
- Double-click the side button (on Face ID iPhones) or rest your finger on the Home button (Touch ID models).
- Authenticate with Face ID, Touch ID, or your passcode.
- Hold the top of your iPhone within an inch or two of the contactless terminal.
- Wait for the checkmark and the "Done" confirmation on screen.
On an Apple Watch, double-click the side button and hold the watch face close to the reader — no phone required. This is especially useful in situations like transit, where speed matters and pulling out your phone isn't practical.
Real-world tip: at grocery stores and transit stations, the terminal often beeps or shows a green light to confirm the payment went through. If nothing happens after a second or two, reposition your device slightly closer to the reader.
How to Use Apple Pay Online and In Apps
Apple Pay works in Safari and inside apps that have integrated the Apple Pay button — and the experience is noticeably smoother than typing out card details manually.
For online purchases in Safari:
- Add items to your cart and proceed to checkout on a participating website.
- Look for the Apple Pay button (a black button with the Apple logo) at checkout.
- Tap it. A payment sheet will appear showing your default card and shipping address.
- Confirm with Face ID, Touch ID, or your passcode.
- Done — no form-filling, no card number entry.
In-app payments follow the same flow. Apps like Airbnb, Instacart, and many food delivery services support Apple Pay at checkout. The key difference from in-store use: there's no NFC involved. Authentication still uses biometrics, but the payment travels over the internet rather than a contactless terminal.
If you don't see the Apple Pay button on a site or app, that merchant hasn't enabled it — you'll need to use a traditional payment method there.
Is Apple Pay Safe? Security Features Explained
Apple Pay is genuinely more secure than using a physical card for most transactions. Three layers of protection work together to keep your financial information private.
Tokenization means your real card number never leaves your device. Merchants receive a transaction-specific token, so even if a retailer's system is compromised, your actual card details aren't exposed.
Biometric authentication — Face ID or Touch ID — means every payment requires your face or fingerprint. Someone who finds or steals your phone can't make purchases without passing that check. If biometrics fail, the device falls back to your passcode, which only you know.
Two-factor authentication is required when adding a new card, so someone can't quietly add a card to your Wallet without access to your trusted phone number or email.
Apple itself doesn't store your transaction history in a way that's linked to your identity. The company has stated it doesn't have access to the details of your purchases. For readers who want to dig deeper into the technical standards behind contactless payment security, the PCI Security Standards Council publishes guidance on how tokenization and NFC payments are governed at an industry level.
Troubleshooting Common Apple Pay Issues
Most Apple Pay problems fall into a handful of categories, and most have straightforward fixes.
Card Verification Fails During Setup
This usually means the bank needs more time or a different verification method. Try the bank's own app, or call the number on the back of your card. Some banks take up to 24 hours to verify cards added outside their app.
NFC Not Working at the Terminal
First, confirm the terminal displays the contactless symbol. If it does, try holding your device closer — NFC range is very short. Also check that your iPhone's NFC isn't disabled (Settings → Wallet & Apple Pay should show your cards). Restarting the device resolves this in many cases.
Payment Declined
A declined payment usually isn't an Apple Pay problem — it's typically a card issue (insufficient funds, daily limit reached, or the bank flagging an unusual transaction). Check your card's status in the Wallet app; a yellow or red indicator means the card needs attention. Contact your bank if the card looks fine but payments keep failing.
Apple Pay Button Missing Online
This happens when you're not using Safari, or when the site doesn't support Apple Pay. Some browsers on iOS don't support the payment sheet. Switch to Safari and try again.
Frequently Asked Questions
Can I use Apple Pay if my phone is dead or has no signal?
No. Apple Pay requires your device to be powered on and unlocked for in-store payments. It also needs a network connection to add or manage cards, though some in-store transactions can process briefly without signal if the card data is cached. A dead phone means no payment.
Is there a spending limit for Apple Pay transactions?
Apple Pay itself doesn't impose a spending limit. Limits are set by your bank or card issuer, and sometimes by the merchant's terminal for contactless payments. In many countries, contactless terminals have a per-transaction cap (often around $100–$200) unless the merchant has configured higher limits or you authenticate with a PIN at the terminal.
How do I remove a card from Apple Pay?
Open the Wallet app, tap the card you want to remove, tap the three-dot menu (or scroll down), and select "Remove Card." You can also remove cards remotely via iCloud.com if your device is lost.
Can I use Apple Pay internationally?
Yes, wherever contactless terminals and your card network are accepted. Apple Pay is available in dozens of countries. Your card's international transaction fees still apply — Apple Pay doesn't change what your bank charges for foreign purchases.
What should I do if an Apple Pay payment goes through but I'm charged twice?
Check your Wallet app first — it shows recent transactions and can confirm whether one or two payments were processed. If you see a duplicate, contact the merchant directly with your transaction details. If the merchant can't resolve it, call your bank to dispute the duplicate charge. Apple Pay transactions carry the same dispute rights as regular card payments.
Once you've made your first Apple Pay payment, the process becomes second nature. The combination of speed, privacy, and the elimination of fumbling for a physical card makes it one of those small upgrades that quietly improves daily life.