How to Set Up and Use Google Pay
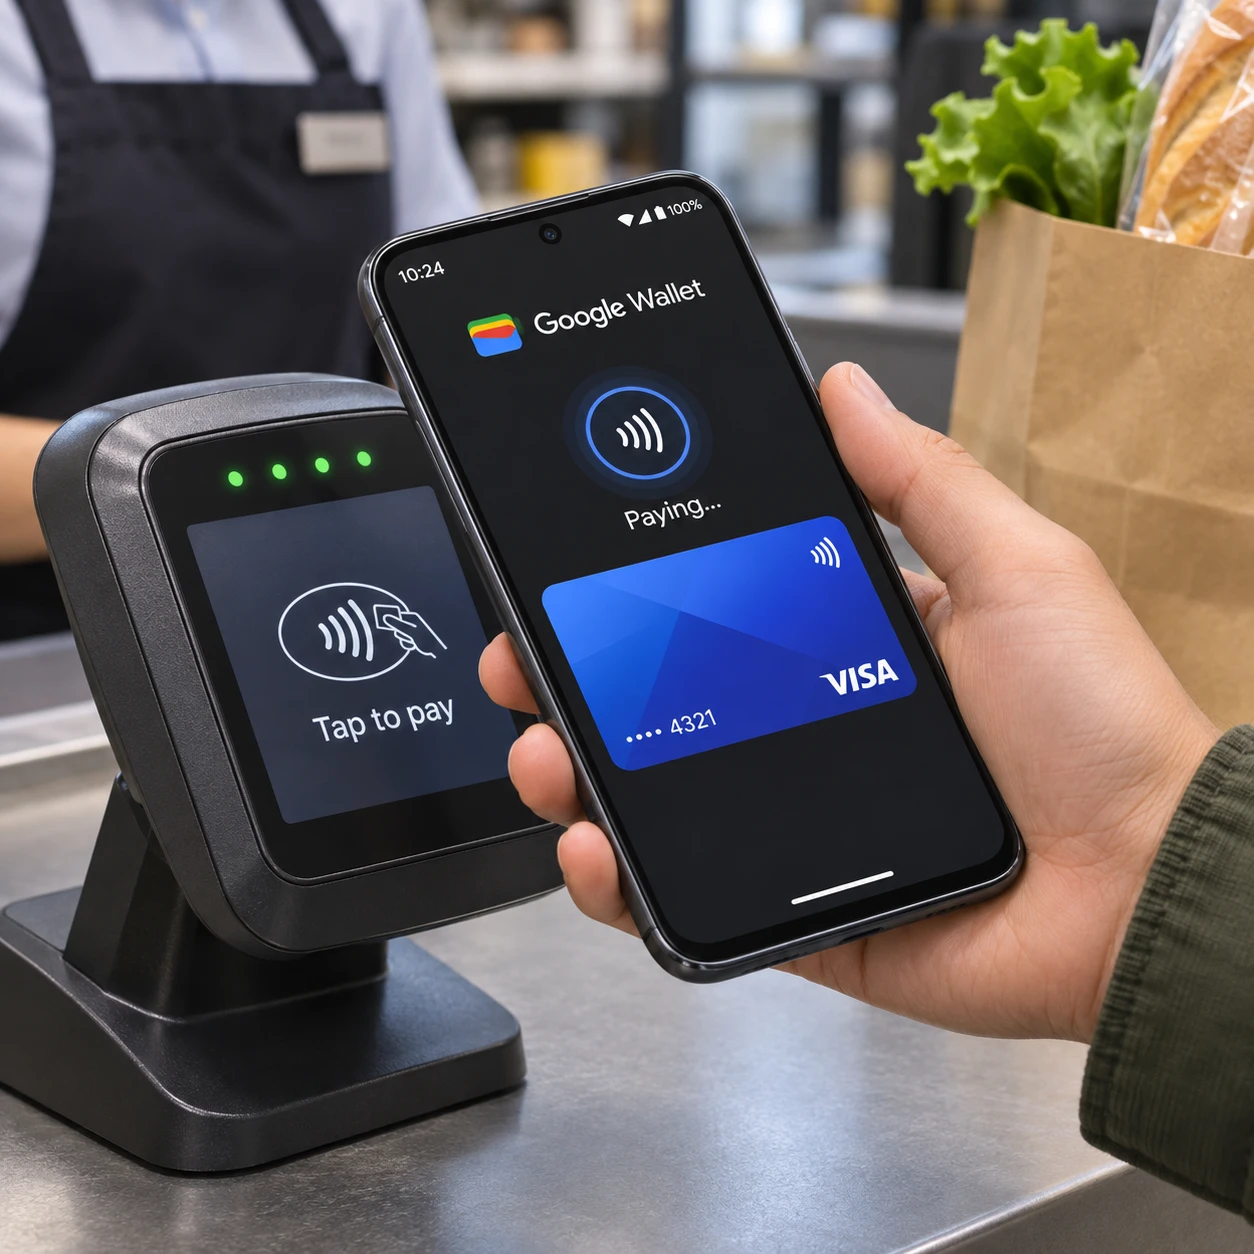
Google Pay lets you use a supported payment card for contactless purchases in stores and for eligible payments in apps and on websites. Setup usually takes only a few minutes, but availability depends on your country, device, bank or card issuer, and the merchant.
What Google Pay Is and Where You Can Use It
Google Pay is Google’s payment service for paying with supported cards in person, in apps, and online. On Android phones, the card and tap-to-pay experience is commonly managed through the Google Wallet app.
For an in-store purchase, you can usually tap an eligible Android phone at a contactless payment terminal. Look for the contactless symbol at checkout, and check that the store accepts the card network and payment method on your phone. In apps and websites, Google Pay may appear as a checkout option; its availability depends on the merchant and your region.
The names and features can vary by country and device. Google Pay or Google Wallet may also offer other features in some locations, but you do not need to set those up to pay with a card. A card being visible in your Google Account does not necessarily mean it is ready for contactless use. Your bank or card issuer must support the service, and it may need to approve the card.
Check What You Need Before Setup
Before setting up Google Pay, check that your Android phone, Google Account, payment card, and bank support it. You will also need internet access during setup and a screen lock if your device or region requires one.
- A compatible Android phone: The phone must support Google Wallet and, for contactless payments, have NFC. NFC is the short-range wireless technology that lets a phone communicate with a payment terminal.
- A Google Account: Sign in to the account you want to use with Google Wallet. Keep access to your email or phone number in case Google or your bank asks you to verify your identity.
- A supported payment card and issuer: Check your bank’s guidance or Google’s supported payment methods for your country. Support may differ between a bank’s credit and debit cards, and between card types.
- A screen lock: Set a PIN, password, pattern, or supported biometric screen lock. A secure lock helps protect the phone and may be required to enable tap to pay.
- Internet access during setup: You generally need a connection to add a card and complete verification. Keep your card details available, though your bank may offer another verification method.
Do not assume that a phone with NFC or a card from a participating bank will automatically work. Availability can change, and the issuer makes the final decision about whether a particular card can be added. For current country and device requirements, check the Google Wallet Help page on contactless payments and your bank’s own instructions.
How to Set Up Google Pay
To set up Google Pay, open or install Google Wallet, add a supported payment card, and complete any verification requested by your bank. Follow the prompts on your phone because menu names and steps can vary by Android version and location.
- Open Google Wallet. Find the app on your Android phone. If it is not installed, download the official Google Wallet app from Google Play, where available. Sign in with your Google Account if asked.
- Start adding a card. Choose the option to add a payment card. The wording may differ; look for a plus sign or an option such as “Add to Wallet.”
- Enter or scan your card details. Check the card number, expiry date, and billing information if you enter them manually. Review the issuer’s terms before continuing.
- Complete bank verification. Your bank or card issuer may send a one-time code by text or email, ask you to approve a notification in its banking app, or use another method. Use the contact details already registered with the bank.
- Set up contactless payments if prompted. Turn on NFC and choose Google Wallet as the default payment app if your phone asks. Confirm that a screen lock is enabled.
- Wait for confirmation. Check that the card appears in Google Wallet and is marked ready for contactless use if you plan to tap in stores. Follow any remaining on-screen instructions.
If the bank cannot verify the card or the setup fails, avoid repeatedly submitting the same request. Confirm that the details are correct, update the relevant apps, and contact the card issuer. Adding a card to the app does not guarantee that the bank will authorize every purchase.
How to Pay with Google Pay
To pay in a store, unlock your phone and hold its NFC area near the contactless terminal until the phone or terminal confirms the payment. For app and website purchases, select Google Pay at checkout and confirm the payment details before submitting.
Pay in a store
- Check that the store’s terminal accepts contactless payments.
- Wake and unlock your phone using your screen lock or another supported verification method. Some transactions may require additional authentication.
- Hold the back of the phone near the terminal’s contactless reader. The NFC antenna’s position varies by phone, so move it slightly if the terminal does not respond.
- Wait for a check mark, sound, vibration, or message on the terminal or phone. If prompted, follow the terminal’s instructions.
You usually do not need to open Google Wallet first, though opening it can help you choose a different card. A payment can still be declined by the bank or merchant even when the phone appears to communicate with the terminal.
Pay in an app or online
At checkout, choose Google Pay if it is offered. Review the payment card, delivery or billing details, and total, then use the confirmation button or device authentication shown on screen. If Google Pay is not listed, the merchant may not support it for that purchase or in your region. You can use another accepted payment method instead.
Many in-store payments can work without a live internet connection at the moment you tap, but setup and other wallet features may require connectivity. Do not rely on offline use as a guarantee: device, card, transaction, and regional conditions can affect availability.
Manage Cards and Payment Settings
Google Wallet lets you add or remove supported cards and, where available, choose which card is used by default for contactless payments. Review the card and payment settings in the app rather than assuming every option is the same across devices.
To change the card used at a store, open Google Wallet, select the card you want, and follow the prompt to make it the default for contactless payments if that option appears. You can also select a different card before paying, where supported. Check the last digits on the displayed card before you tap.
To add another card, use the add-card option and complete the issuer’s verification again. To remove one, select the card and look for its settings or removal option. Removing a card from Google Wallet does not close the bank account or cancel the physical card; contact the issuer for those actions. If you replace a card, you may need to add and verify the replacement separately.
Review your screen lock, NFC, default payment app, and card status when something changes, such as a phone upgrade or a bank-issued replacement card. Menu labels can vary, so follow the on-screen guidance for your Android version.
Security and Common Problems
Google Pay security depends on your device protections, bank controls, and careful account use. Keep a strong screen lock enabled, protect your Google Account, and contact your issuer promptly if a card or phone is lost or you notice an unfamiliar transaction.
For a lost phone, use Google’s device-finding tools to secure or erase it when appropriate, and tell your bank or card issuer so it can advise you about the payment card. Never share a one-time verification code with someone who contacts you unexpectedly. Check transactions through your bank’s official app or statement; contact the issuer about suspected fraud or disputed charges.
Quick troubleshooting checks
- Card setup fails: Check the card details, internet connection, Google Wallet app, and Google Account. If verification does not arrive, confirm the bank has your current phone number or email, then contact the issuer.
- Contactless payment does not work: Confirm NFC is on, Google Wallet is set as the default payment app where required, the phone is unlocked, and the card is ready for tap to pay. Hold the phone near the reader for a moment and try moving its NFC area.
- Payment is declined: Check the card’s status and available balance or credit with your bank. The issuer may block a transaction for its own security checks, and the merchant’s terminal or network may also be the cause. Ask the bank whether it received the authorization request.
- Google Pay is missing at online checkout: The merchant may not support it for that order, browser, or location. Try an accepted alternative or ask the merchant about payment options.
A useful first-check sequence is device, wallet, issuer, merchant: confirm the phone and NFC work, check the card in Google Wallet, ask the bank about verification or declines, then verify that the merchant accepts the payment type. This narrows down the cause without assuming that every problem is a phone issue.
Frequently asked questions
Is Google Pay the same as Google Wallet? Google Pay is the payment service, while Google Wallet is the app used in many regions to store supported payment cards and make payments. Names and available features can vary by country.
Which cards and banks work with Google Pay? Supported banks and card types vary by country. Check Google’s current supported-payment information and confirm directly with your bank or card issuer.
Do I need an internet connection to pay in a store? A live connection is often not needed for the tap itself, but setup requires internet access and offline availability is not guaranteed for every device, card, or transaction.
What should I do if a Google Pay transaction is declined? Check the card status and transaction details in your bank’s app, then contact the issuer to ask why it was declined. If the bank did not receive the request, ask the merchant to check its terminal or try another accepted payment method.